Preamble #
As I began studying for the eJPT using TryHackMe rooms, I realized I didn’t need the GUI for kali linux as it made me more inefficient since i would have to start the virtual machine then login and then wait for the desktop environment to load and then navigate using the mouse to the tool i want use or to just open the terminal so i began to think about creating a way to get access to the kali terminal on my host machine i pondered about using serial for communication ,using nc to practically code inject into my own machine but then suddenly it dawned on me SSH that would solve my efficiency woes and wouldn’t be that hard to setup. so this guide will teach You how!
Requirements #
- USB Drive at least 8GB
- Computer
How to #
Creating a bootable USB Drive #
Download your Bootable USB Creators of choice If you are on windows I suggest using rufus on any other OS I suggest balenaEtcher if you will be distro hopping you can’t go wrong with Ventoy Then Download your Distro of choice ISO whilst fedora is my go-to , i suggest beginners use a Debian based distro like Linux Mint or any other Debian / Ubuntu based Distro the thing that matters most when choosing your Distro; isn’t the distro itself but what DE(Desktop Environment) you prefer as these will decide the look, feel and how you do most of the things in linux if you are a windows user and like the windows navigation i suggest KDE / Cinnamon but if you prefer the MacOS way of doing things I suggest Gnome now to get off this quick tangent let’s get back to the tutorial after the download is finished run rufus or balenaEtcher and burn that iso into your Drive
Rufus Setup #
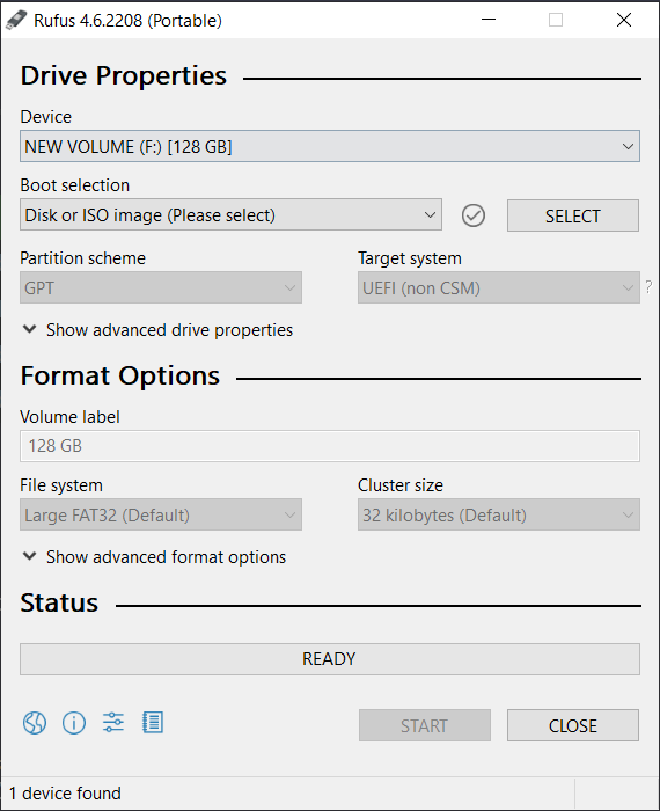
After you enter the rufus website scroll to download and then download the edition for you want
i suggest downloading the portable application instead of the installer
after you download/install the application run it and this will be the interface in front of you
Windows Setup #
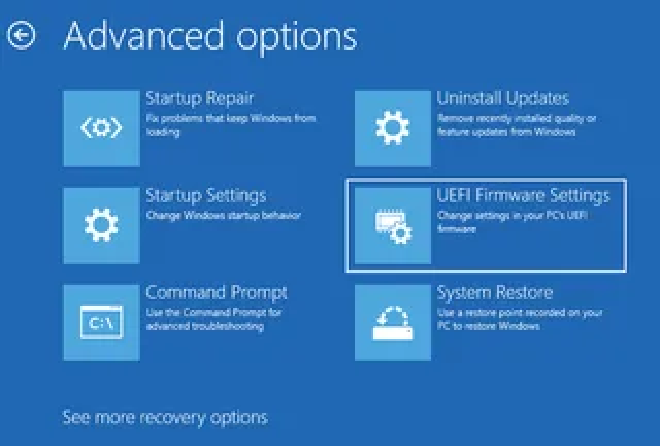
you can skip the guessing of what F-key opens the bios by holding shift whilst hitting the restart button in the start menu

Booting into linux #
First check to see what button gets you into the boot menu of your computer F9 is usually what i’ve seen How to Check:
- Look at the booting process and see if it mentions a key to either pause or change boot devices (Usually on the corners of the screen)
- Google your Laptops model followed by “boot loader key” and it should be near the top After you enter the boot menu choose your USB drive to boot into if you used ventoy you should get the ventoy GUI otherwise you would be booted directly into your installer/Live Environment The Rest is Easy if you’ve ever installed any operating system
now to go into the slightly complex bit
Linux Setup #
egrep -c '(vmx|svm)' /proc/cpuinfo
if the output is 0 that means your CPU either doesn’t support Virtualization or the settings wasn’t enabled in the bios if the output is 1 or more that means you can continue with the tutorial after that i suggest downloading the qemu Pre-built Virtual Machines from kali and extract it into a VM directory either through the gui or the cli
mkdir ~/VMs \
cd ~/VMs \
7z x $ArchiveName
or you can use whatever is used in your desktop environment i use ARK With your Linux environment ready, the next step is setting up a virtual machine for Kali
Virtual Machine Setup #
if you want a gui interface i suggest virt-manager install it using your Distros Package graphical package manager you should be able to find it if you search for virt-manager
sudo dnf install @virtualization
then enable the service using this command
sudo systemctl start libvirtd \
sudo systemctl enable libvirtd
in virt-manager
click on Create a new Virtual Machine
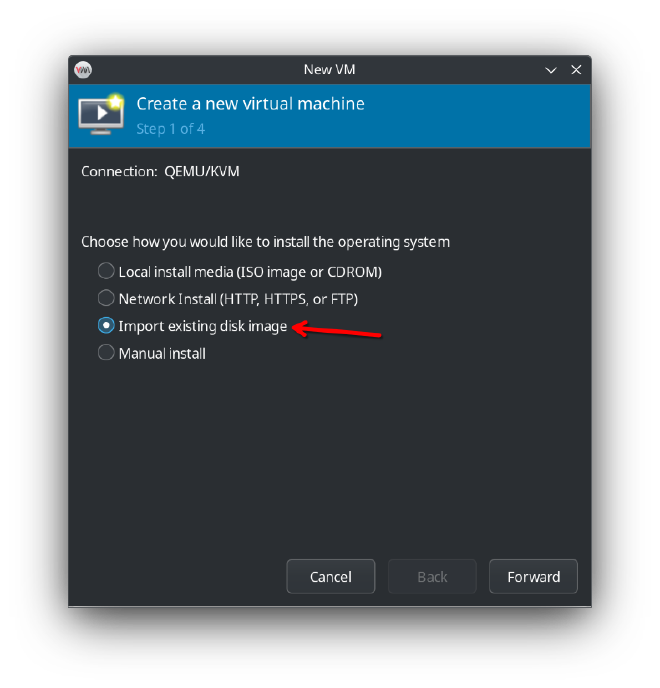
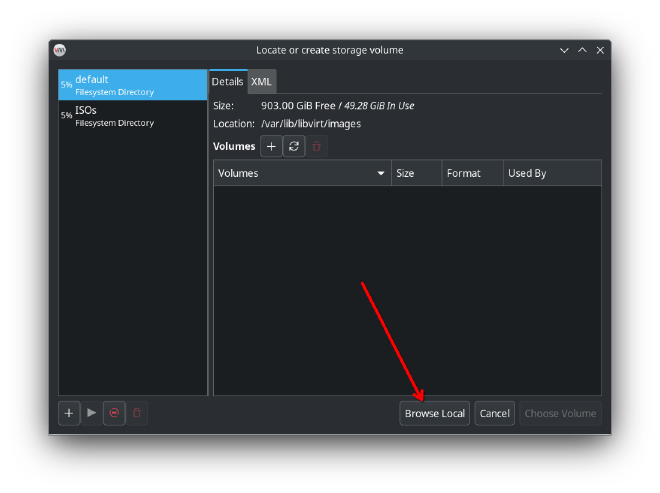
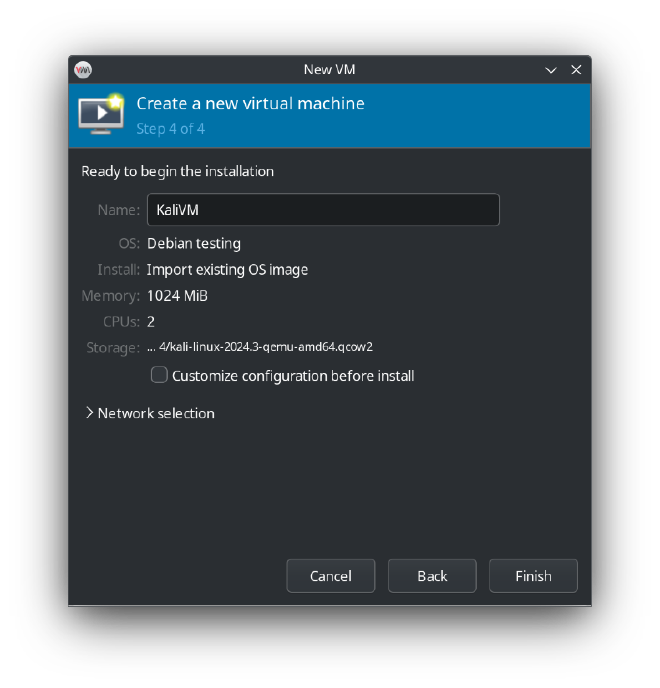
and then select under choose the operating system you are installing “debian testing” and then click on browse
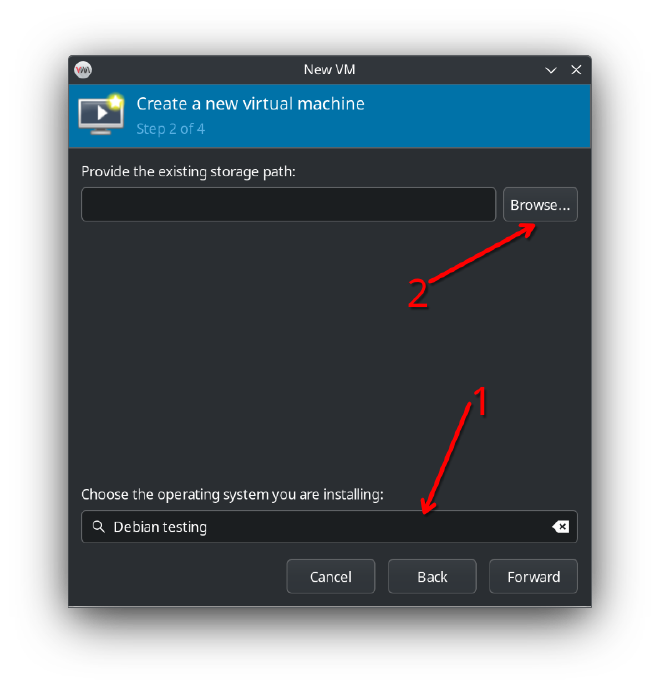

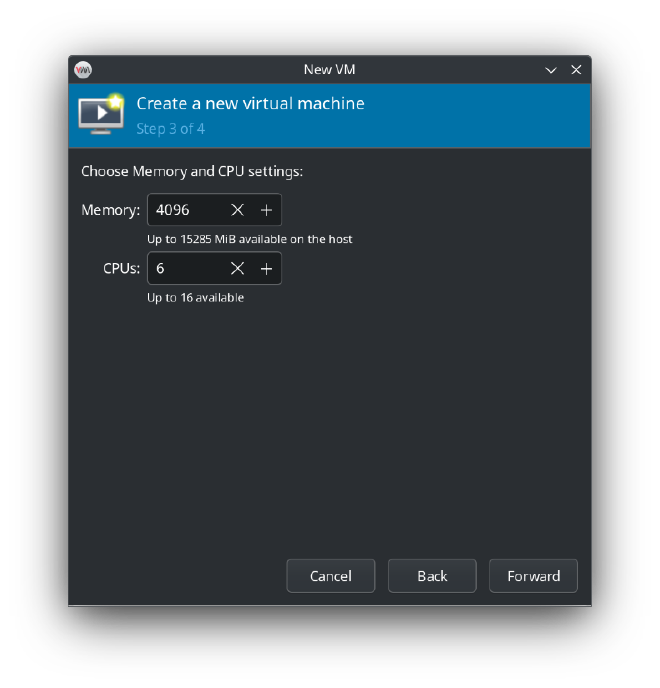
and lastly you just name your VM
SSH Setup #
then after setting up your virtual machine on virt-manager go on the gui of it enable ssh server on your kali VM and make note of the ip
sudo systemctl start ssh \
sudo systemctl enable ssh \
sudo systemctl status ssh \
ip a
Then Switch to your host and see if you are able to connect using the VM’s IP
ssh kali@kalivmip
you should now see a password prompt
ssh-keygen -t ed25519 -C "KaliVM"
and then to copy the public key to our VM
ssh-copy-id -i ~/.ssh/$KeyFile.pub kali@kalivmip
now we get back to our VM and change the sshd config a bit
PasswordAuthentication yes
PubkeyAuthentication no
we’ll change these 2 to be switched so
PasswordAuthentication no
PubkeyAuthentication yes
now let’s go back to our hosts and connect to our VM using ssh
ssh -i ~/.ssh/$PrivateKeyFile kali@$kalivmip
if you connect that’s good if you don’t retrace your steps and try again “well that’s a long command which isn’t very efficient mister Askar” Well Listen Here my man there is this magic file called a ssh client config which you can create using this commands
touch ~/.ssh/config
now that you have created the file use whatever text editor you prefer i prefer nano but you could use vi or vs code and copy this and edit it to your preference
Host $VM-Shortcut
    HostName $VMIP
    User Kali
    IdentityFile ~/.ssh/$PrivateKeyFile
then you can access your VM using this command
ssh $VM-Shortcut
much simpler and if you want to start your VM from the CLI you can do that using the virsh command
sudo virsh list --all
and then you’ll see the name you setup for the VM to start it you just use this command
sudo virsh start $VMName
Troubleshooting Tips #
- Problem: SSH connection is refused.
- Solution: Verify the IP address of the VM with
ip aand ensure the SSH service is running withsudo systemctl status ssh.
- Solution: Verify the IP address of the VM with
- Problem: Unable to enable virtualization in BIOS.
- Solution: Consult your motherboard’s manual or look up the model-specific steps online.
Conclusion #
By following this guide, you can efficiently daily-drive Kali Linux using SSH and virtualization, all while leveraging the power of your preferred Linux distro. With this setup, you’ll save time, improve workflow efficiency, and enjoy a more streamlined experience.